
I’ve been thinking of making a post about what goes into handmade goods for awhile now. So I got organised and managed to remember to take photos of the whole owl making process so you can see exactly how much work and love and attention to detail goes into making handmade goods – whether it be mine or another artists.
I know that many, many of you really do appreciate the work involved in handmade goods and that you love the fact that these great products are NOT made in China, but are made in someones front room, or at the dining table or in a special work space if they are lucky enough. And that every single time you buy handmade you are helping put food on the table, or pay a mortgage, or buy shoes for the children. You make a very big difference to an artists life and personally I appreciate every single sale I have ever had.
*NOTE this is not a tutorial, please don’t copy my design as I have put a huge amount of time and love into creating these owls and they are a very important source of income for me, thanks!
IN THE BEGINNING…
I must admit, the most enjoyable part of the process is the fabric shopping … be still my beating heart …. I needed to stock up on a few fabrics and a few more accidently slipped in!!
You might at this point be wondering why I make so many owls at once? One of the reasons is the fabric, how can I not make at least one of every gorgeous piece of fabric? I try to cull, but always seem to end up with about 3 times the amount that I wanted to make!
“I’ll just make 10 owls” soon becomes “oh dear, looks like I will be making 37 owls … sigh”
 So I added my new fabrics to my existing fabrics and this is the pile (some fabrics were only used for ears and wings) mmmm pretty fabrics ….. droool droool
 And so the making begins, pattern pieces are transferred onto fabric and cut out leaving a very happy pile of scraps that I do like to have little play with.
 Then I get everything organised into sewing thread piles to try to save on time, I do my best to save time where I can to keep the total time spent making reasonable, otherwise I would be charging £100 per owl just for the time!
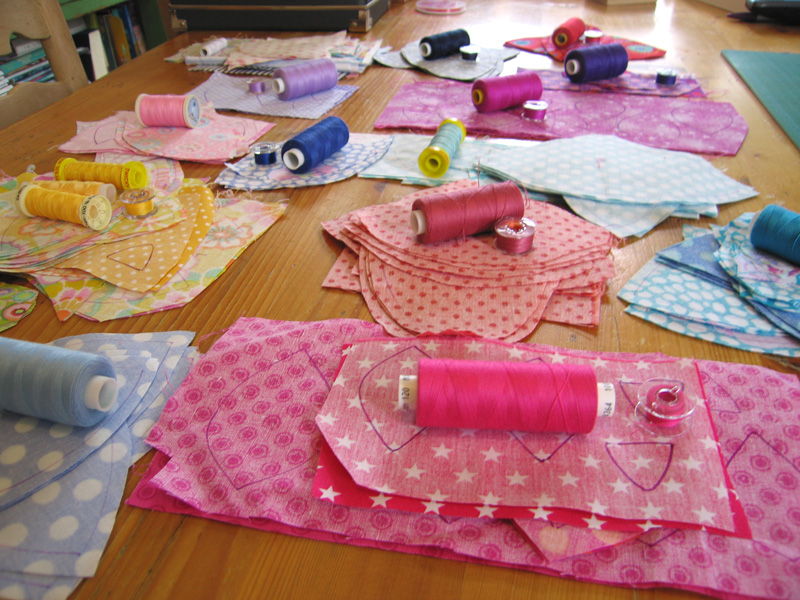 Next, out comes old trusty, the Janome. I have the most basic machine I could get and it has been the best sewing machine in the world!
 I think it took me two days to sew the bodies and wings and ears up!
 Everything gets trimmed neatly and bodies get paired up with ears and wings. The ears all get turned in the right way with my handy hemostats, I can’t tell you how brilliant these are!
 Ironing all of the ears
 Carefully pining the bodies and ears together to sew up.
 OCD stacking of bodies ready for stuffing, don’t they look lovely? (I only put them like that because I love they way they look all squished in together!
 And onto stuffing – this is seriously how much stuffing goes into a large owl!
 I kid you not!! I end up with serious stuffers thumb and finger at this point as I stuff them very VERY firm! (think rugby ball with ears)
 Taaa daaa a family of stuffed rugby balls 🙂 Aren’t they happy!
 Right … onto wings, more turning in the right way.
 More ironing. OOooh look the sun did shine once!
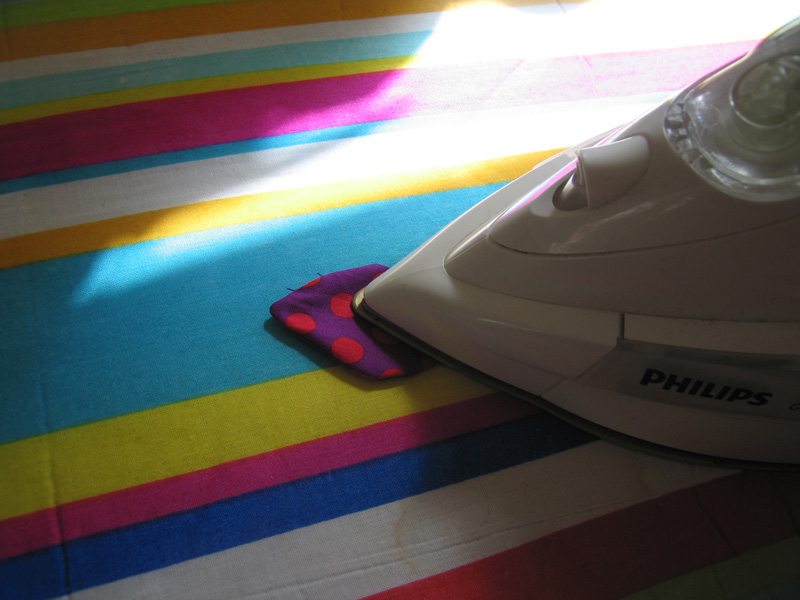 Eyes! Lots of eye bits to cut out.
  The pupil is sewn onto the white bit.
 The white bit is edged with blanket stitch before I stitch it to the body. I find this gives the best finish and I have better control over the final placement of the eyes on the body – nothing worse than an owl with a wonky eye!
 hehehe sew up the bum!
 Beaky gets cut out and sewn straight on.
 One eye sewn on with invisible thread. If you have never used invisible thread it is like trying to sew with an invisible slippery eel on your needle, it comes unthreaded all the time, but you can’t tell as you can’t see it as it is INVISIBLE!!! But it works!
 The other eye gets attached – hallelujah he can see!
 One wing goes on.
 Then the other. I have to keep an eye on them now otherwise they start flying around the room. (At this point my fingers are ready to fall off – if you want to see what it is like, get a rugby ball and sew some wings onto it!)
 Feet – two pieces of felt are cut out,
 And blanket stitched together. (ooh magic colour change)
 They are then sewn onto the bottom (snigger) using the invisible eel again. (another magic colour change)
 a little roll over with a lint brush and then Taaaaaaa Daaaaaaa – a finished owl.
  But that is not the end of the process at all, oh no not at all!
Next comes taking 4 photos of each owl, editing each photos, creating a listing, and promoting them!
Then once someone is lovely enough to buy one, there are fees to pay (listing, etsy transaction and paypal transaction), packing to do (which has also been purchased) and then a trip to the post office. Then the wait to see if it makes it to it’s new home safely!
So not much to it huh!